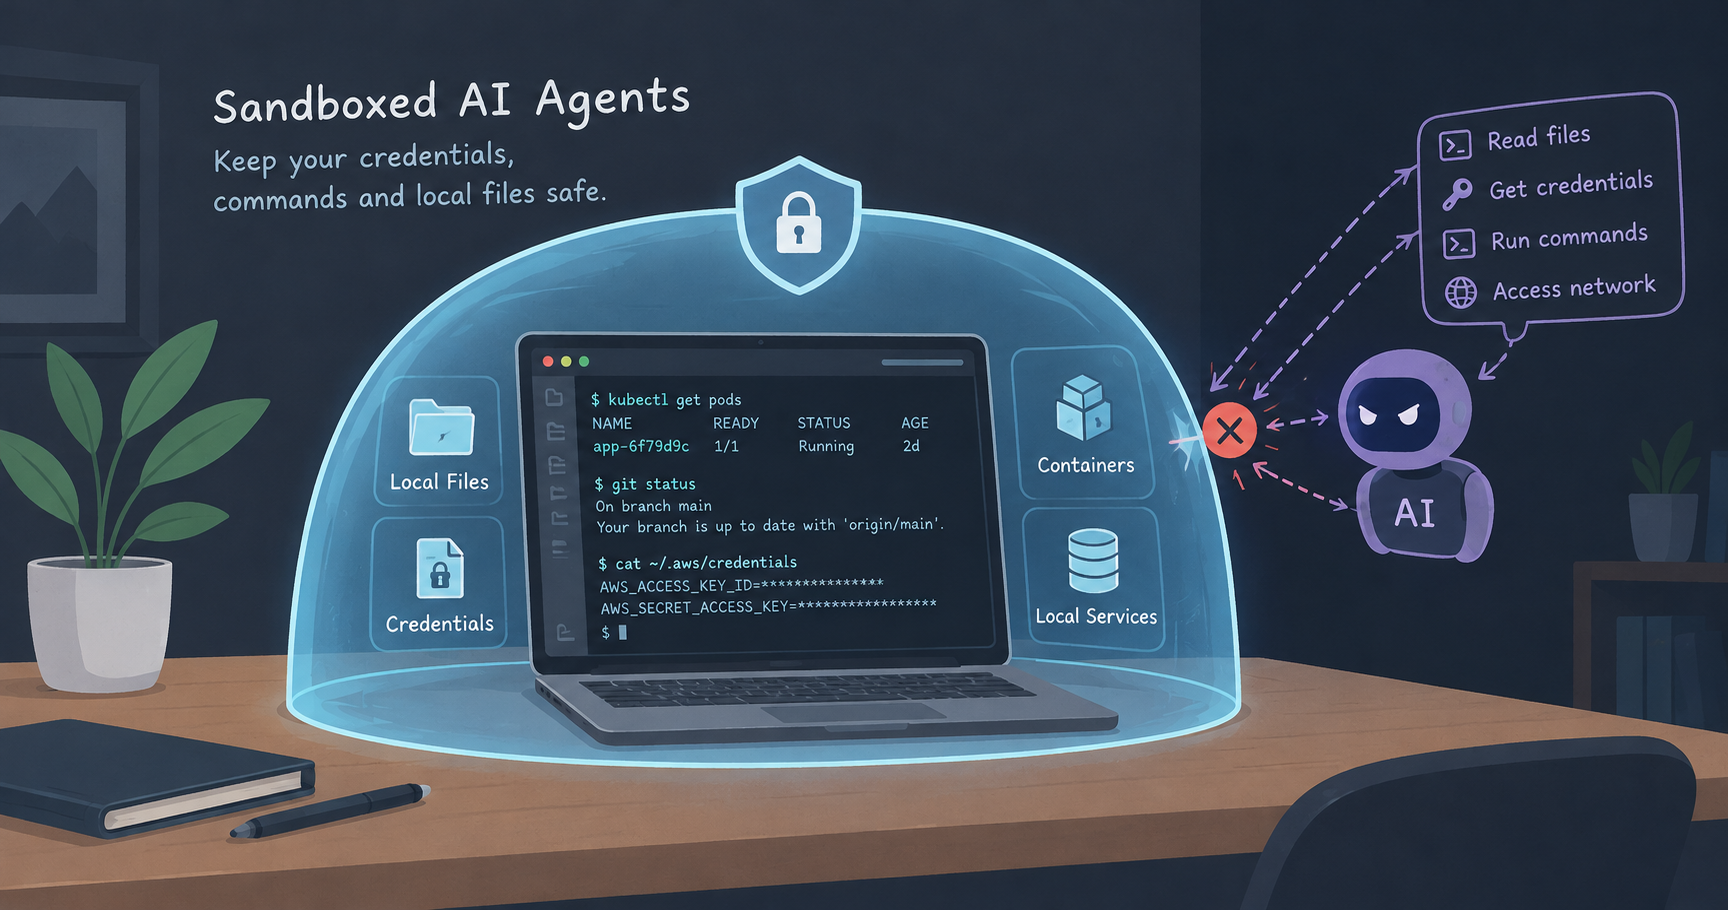
As AI coding agents became a part of daily routine, giving them unrestricted access to our host systems poses serious risks. Without guardrails, an agent or a stray command could accidentally execute destructive operations like a git push or force push, or expose sensitive secrets like AWS keys and Kubernetes configs.
To keep development fast, safe, and fully under control, we can explore different approaches, such as OS-level capability sandboxing, reproducible Nix environments, and containerized isolation. This allows us to choose the best fit for the workflow.
Approach 1 - OS-Level Sandboxing with nono
nono is a capability-based sandbox for AI agents enforced directly by the operating system, using Seatbelt on macOS and Landlock on Linux. It restricts CLI tools to specific file paths, directories, and network targets.
Let’s look at how to set up a nono profile and restrict the accesses. Firstly, install it in the machine and verify that nono --version prints the version of the installed nono.
1. Create a strict profile
We can initialize a strict profile to lock down access to sensitive credentials while permitting our working directory:
nono profile init strict --extends defaultThis creates a default profile content with very basic restrictions. We can modify the contents based on the need. Here is a sample profile that restricts accesses to some of the common secrets and environments.
Replace the contents of ~/.config/nono/profiles/strict.json with:
{
  "extends": "default",
  "environment": {
    "set_vars": { "DISABLE_AUTOUPDATER": "1", "ANTHROPIC_MODEL": "sonnet" }
  },
  "meta": { "name": "strict", "description": "Locked-down profile for coding agents" },
  "groups": { "include": ["claude_code_macos", "codex_macos", "node_runtime", "python_runtime", "git_config"] },
  "workdir": { "access": "readwrite" },
  "filesystem": {
    "read": ["~/.gitconfig"],
    "allow": ["$TMPDIR", "~/.claude", "~/Library/Keychains"],
    "allow_file": ["~/.claude.json"],
    "bypass_protection": ["~/Library/Keychains"],
    "deny": [
      "~/.aws",
      "~/.kube",
      "~/.config/gh",
      "~/.gnupg",
      "~/.docker/config.json",
      "~/.npmrc",
      "~/.pypirc",
      "~/.netrc"
    ]
  },
  "network": {
    "deny_domain": ["*.pastebin.com", "transfer.sh"],
    "open_port": [0]
  },
  "open_urls": {
    "allow_origins": [
      "https://claude.com",
      "https://claude.ai",
      "https://console.anthropic.com",
      "https://platform.claude.com"
    ],
    "allow_localhost": true
  }
}
What This Profile Does
-
Blocks Sensitive Credentials: Explicitly denies access to sensitive directories like AWS, Kubernetes (
~/.kube), GitHub CLI, SSH keys, and Docker configurations. This stops agents from leaking our secrets. -
Sets Model Defaults and Auth: Automatically sets environment variables to lock Claude to the
sonnetmodel and disable auto-updates. Theopen_urlsblock allows authentication domains likeclaude.aiso we can sign in via the browser. -
Note: This example is tailored for Claude Code, but we can adapt a similar configuration for other AI developer CLIs like Gemini or Codex.
Common Pitfall: Overlapping Paths
We must be careful not to grant broad directory access that overlaps with nono’s internal storage. If we accidentally try to allow our entire home folder or state root, nono will block startup with an error like this:
nono: Sandbox initialization failed: Refusing to grant '/Users/yadu' (source: user) because it overlaps protected nono state root '/Users/yadu/.local/state/nono'.2. Set Up Shell Aliases
We add aliases to our shell configuration (~/.zshrc or ~/.bashrc) so agents always run sandboxed by default. We can include an escape hatch override if needed:
alias claude='nono run --profile strict --allow-cwd -- claude'
claude-unsafe() { read -q "REPLY?Run claude WITHOUT sandbox? [y/N] " && { echo; command claude "$@"; }; }
We should always launch our agent from within our target project directory. The --allow-cwd flag grants file system access exclusively to the folder where we start the command.
Verification Test
To verify our sandbox is successfully blocking unauthorized access, we start Claude and give it this prompt:
Prompt:
"can you count the number of words in my kubeconfig file?"
Expected Result: The agent will fail to read the file and report a permission denied error:
Error: Operation not permitted (os error 1) - cannot read ~/.kube/configApproach 2: Reproducible Environments with Nix
For ultimate control and reproducibility, we can bind our strict nono profile directly inside a Nix flake development shell. This setup lets us pin precise tool versions, manage project dependencies like JDK or Node, and automatically load our security boundaries when entering the shell.
Nix Installation
Firstly, let’s install the Nix. I used the nix installer from the DeterminateSystems, which is easier.
Setup
Let’s create a simple flake.nix file inside the root directory of your repository and paste this content into it:
{
  description = "dev shell with Claude Code sandboxed by nono";
  inputs.nixpkgs.url = "github:NixOS/nixpkgs/nixpkgs-unstable";
  outputs = { nixpkgs, ... }:
    let
      systems = [ "aarch64-darwin" "x86_64-darwin" "x86_64-linux" "aarch64-linux" ];
      forAll = f: nixpkgs.lib.genAttrs systems (system:
        f (import nixpkgs { inherit system; config.allowUnfree = true; }));
    in {
      devShells = forAll (pkgs:
        let
          realClaude = "${pkgs.claude-code}/bin/claude";
          claude = pkgs.writeShellScriptBin "claude" ''
            export DISABLE_AUTOUPDATER=1
            export ANTHROPIC_MODEL="''${ANTHROPIC_MODEL:-sonnet}"
            if [ -n "''${NONO_CAP_FILE:-}" ]; then
              exec ${realClaude} "$@"
            fi
            cd "$(git rev-parse --show-toplevel 2>/dev/null || pwd)"
            # Explicitly loads our pre-configured strict profile
            exec ${pkgs.nono}/bin/nono run --profile strict --allow-cwd -- ${realClaude} "$@"
          '';
        in {
          default = pkgs.mkShell {
            packages = [ pkgs.git pkgs.nono claude ];
          };
        });
    };
}
This uses the strict nono profile internally.
Once configured, we start working with these simple commands:
nix develop          # Enter the reproducible dev shell
claude               # Launch our automatically sandboxed agent
Verification Test
Inside our Nix dev shell, we ask the agent:
Prompt:
"can you count the number of words in my kubeconfig file?"
Expected Result: The sandbox denies access, ensuring our credentials remain completely protected.
Approach 3: Containerized Isolation with Docker Sandbox
If we prefer heavy container-level isolation over OS-level restrictions, Docker sandboxes (sbx) wall off external secrets like SSH and kubeconfig entirely inside a dedicated MicroVM.
It is very important that we need to run it from project dir to be safe as sbx mounts current dir by default. Also, the free version doesn’t allow restriction on filesystem and need to purchase the paid plan that contains organisation policy to support file system restrictions.
How it Compares
-
Pros: Complete environment isolation. It guarantees separation from our host filesystem outside of mounted volumes, and uses masked credential injection so the agent never touches our raw API keys.
-
Cons: Slightly higher resource overhead. It requires the Docker backend to be running and offers less direct integration with local native host utilities than OS-level sandboxing. However, if you run the sbx from home dir, it can access config like kube config since the working dir is accessible for the sandbox.
Once the docker sandbox is installed, we can optionally set up a configuration file for environment variables. Let’s create a file at the home directory as ~/.sbxenv.yaml and paste the following contents:
schemaVersion: 1
agent: claude
args:
  - "--model"
  - "sonnet"
This file provides the default configuration that can be set up for the sandbox. In my case, I want to use sonnet as the default model in the sandbox instead of Opus.
Then, we can run the following commands.
We will need to first login to the docker sandbox using sbx login
Then we can create a sandbox using the command:
sbx run claudeThis starts up a new sandbox with claude with model as sonnet.
Here are some of the common commands to use in sbx.
| Command | Description |
|---|---|
sbx login | Authenticate and initialize the sandbox |
sbx | Launch the interactive UI |
sbx run claude | Run Claude in a sandbox and mount the current directory |
sbx run claude -- --model sonnet | Start Claude with a specific model flag |
sbx run --name my-sandbox claude | Start or re-attach to a named sandbox |
sbx ls | List all active sandboxes |
sbx stop <sandbox> | Stop a running sandbox |
sbx rm <sandbox> | Remove a sandbox instance |
Verification Test
Inside our Docker sandbox container, we test the restriction with:
Prompt:
"can you count the number of words in my kubeconfig file?"
Expected Result: Because external configuration files are completely walled off outside the mounted directory, the agent will confirm it cannot find or access the file.
Conclusion
Depending on our comfort level and workflow requirements, we can pick the strategy that fits best:
-
Use
nonoif we want lightweight, OS-enforced security that runs natively on our machines without spinning up VMs. -
Combine with Nix if we need strict tool-version reproducibility and automated profile loading across our teams.
-
Use Docker Sandboxes (
sbx) if we prefer complete containerized boundary isolation and micro-VM security.
Here is the link to the github repository:
Nono Profile: Here
Nix Setup: Here